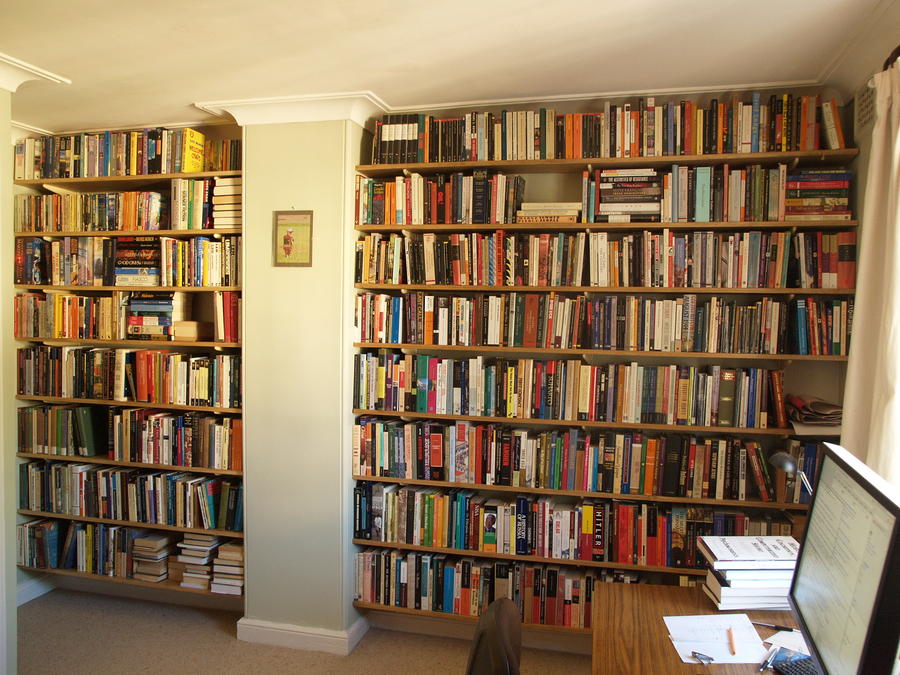
Wall-mounted timber bookshelves
With the help of my father, I put these together myself.1: the wall mounting
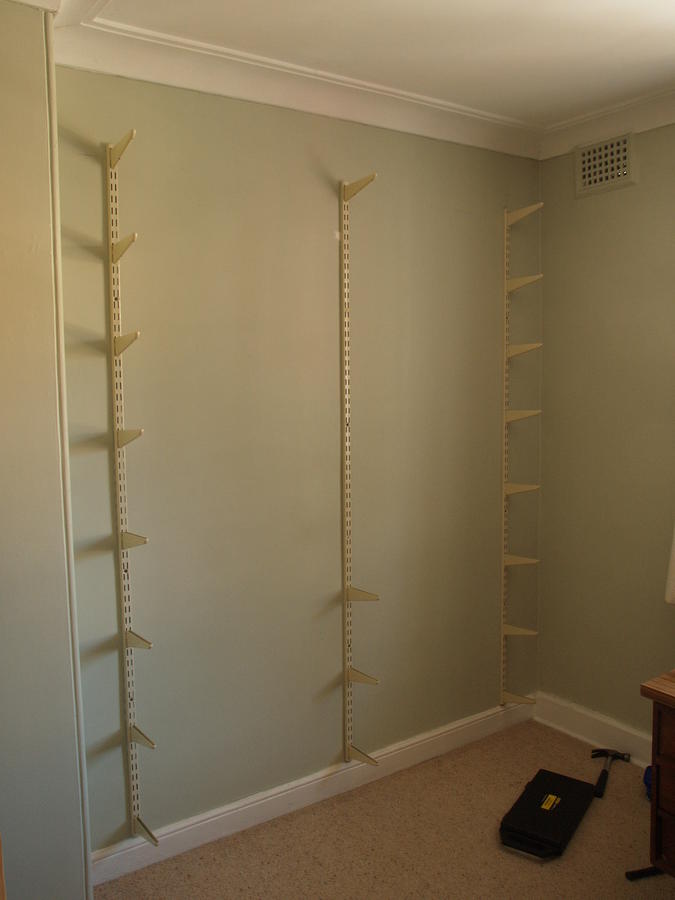
the wall mounting system
- 5 x 1980mm uprights - $115
- 24 x 170mm brackets - $65
- 16 x 220mm brackets - $60
- 20 x 6x60mm dynabolts - $15
- hammer drill, 6mm masonry bit, spirit level, measuring tape, 1m rigid measure, hammer, nail, spakfila
Nothing is straight in our 110+ year old house, so we aligned the strips to the gravitational vertical and with each other.
2: cutting the timber
We got the timber from Crescent Hardware and Timber — they have the timber laid out so you can check over it and I was pleased with the quality. (I wanted to use something other than pine, but alternatives were expensive and hard to verify as plantation-sourced.)
- 8 x 2100mm x 200x25 dressed pine - $110
- 8 x 1500mm x 250x25 dressed pine - $113
- workhorse, clamps, circular saw, square, tape measure, guide block
I oriented the timbers so the nicest edges were at the front, obviously, but also so that the top three shelves had the nicest face on the bottom. The worst face was on the bottom of the bottom shelf.
3: finishing the timber
- Cabot Internal Varnish Stain, 1L rich walnut - $42
- walnut/imbrula woodfill - $6.50
- Cabot Crystal Clear, 1L - $40 (?)
- paintbrushes, many rags
- orbital sander, hand sanding tool, 120 and 400 grit sandpaper, feather duster
- fill eyes with woodfill, remove pencil marks from cutting
- sand with orbital sander and 120 grit paper, rounding edges, light hand sand (400 grit), wipe clean with damp cloth
- clear varnish (top/front/right, then bottom/back/left), light sand, remove dust
- stain and varnish (top/front, then bottom), light sand, remove dust
- stain and varnish (top/front, then bottom), light sand, remove dust
Tips:
- put a coat of clear varnish on first! Otherwise parts of the pine "grab" stain and go a nasty grey colour.
- when applying stain/varnish, apply it as lightly as possible and use rags to remove surplus. Also wipe around the corner to stop stain leaking around edges.
- do all the varnishing inside or under cover; outside there is likely to be falling grit (maybe not a problem if there are no trees around)